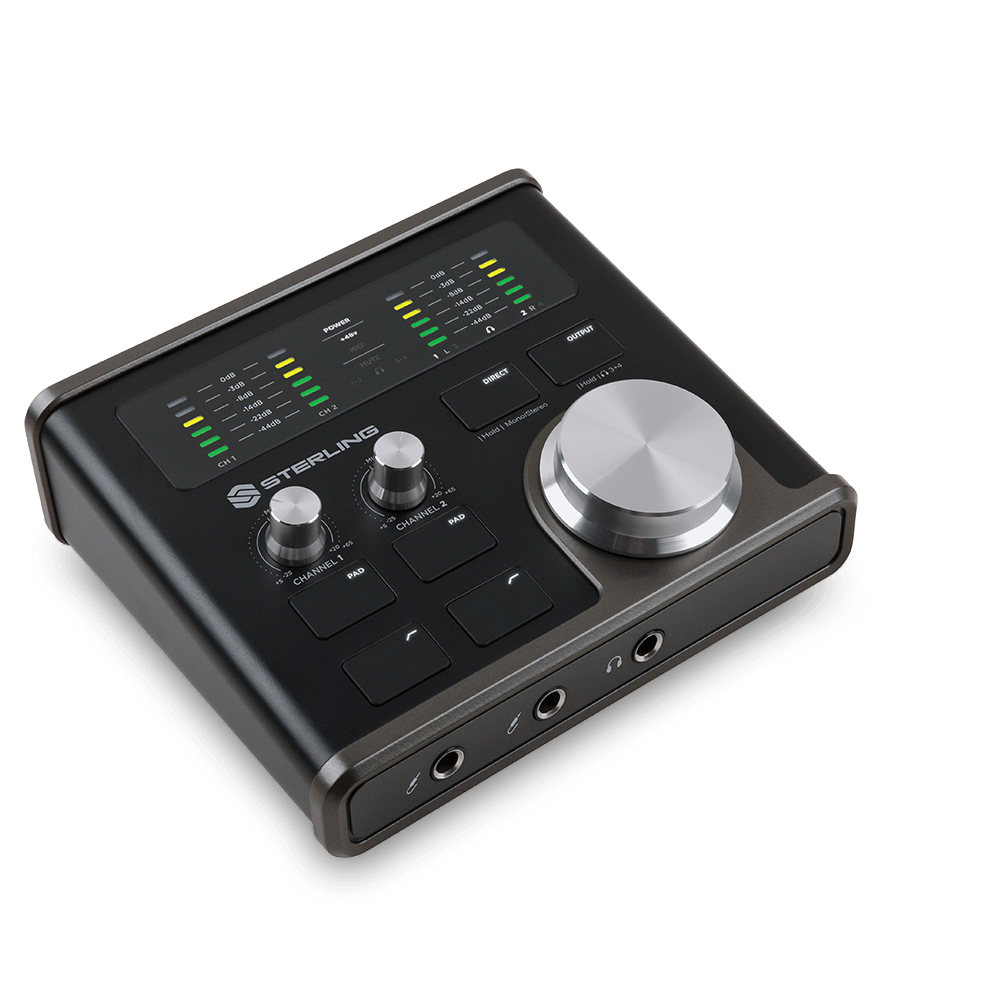
On windows, you can override this with a custom buffer size selection by going to menu Setup > Hardware. Clicking the button will bring up the H224 buffer select dialog.
H224 FAQs
Harmony H224 Audio Interface
Frequently Asked Questions
Windows
Bitwig provides a horizontal slider in audio settings for buffer size adjustment. To adjust buffer size using H224 buffer size select menu, click the AUTO button in the Bitwig audio settings dialog (it will turn orange), apply the changes via the text box pop-up, then click the “show control panel” button to adjust the buffer size via the H224 dialog.
Click H224 Control Panel “maximize” button (top right). Alternately the Config menu > “restore defaults” will reset the control panel default size and settings.
Music playback applications via computers and on-line streaming software services are designed to stream their outputs to a single stereo set of outputs (outputs #1 & #2 by default).
After hibernate or sleep, H224 volume may be lowered, simply readjust the volume as needed.
Verify in windows sound settings that the appropriate H224 outputs are selected. If you speakers are connected to H224 outputs 1, 2, then select “Speakers H224 Audio Driver” (which is H224 outputs 1,2).
Click the up arrow icon found in the taskbar near the system trey (taskbar clock) to reveal additional app icons. Drag the H224 silver “S” icon next to the taskbar clock so it is always visible.
This is by design, to avoid audio artifacts H224 gradually changes volume up or down regardless of how quickly volume knob is adjusted on the hardware.
In Pro Tools First, selecting “Optimize for Recording” sets the audio device buffer size to 64 samples. Selecting “Optimize for Mixing” sets the buffer size to 512 samples.
On Windows, an H224 notification may appear in the lower right corner near the system trey clock. This can be disabled in Windows “Notifications & Actions” panel if it desired.
When H224 is the only audio device connected to the system, changing the sample rate via the H224 Control Panel App may result in playback error “can’t find audio device”. Simply attempt playback again after changing sample rate and in the future, avoid changing sample rate while playback is in progress.
Choose “restart anyway” to proceed with restart.
Some versions of Pro Tools require some device’s buffer size selection be made from the “setup” menu > “hardware” > “setup app” button.
Mac
Music playback applications via computers and on-line streaming software services are designed to stream their outputs to a single stereo set of outputs (outputs #1 & #2 by default).
This is by design, to avoid audio artifacts H224 gradually changes volume up or down regardless of how quickly volume knob is adjusted on the hardware.
This happens due to the “reopen windows” feature when macOS and OS X shuts down. See further details at https://support.apple.com/en-us/HT204005.
Hardware
This is by design to avoid clipping of the audio signal being played from computer of DAW, and the direct monitor signals on hardware.
Software
Bitwig provides a horizontal slider in audio settings for buffer size adjustment. To adjust buffer size using H224 buffer size select menu, click the AUTO button in the Bitwig audio settings dialog (it will turn orange), apply the changes via the text box pop-up, then click the “show control panel” button to adjust the buffer size via the H224 dialog.
In Pro Tools First, selecting “Optimize for Recording” sets the audio device buffer size to 64 samples. Selecting “Optimize for Mixing” sets the buffer size to 512 samples.
On windows, you can override this with a custom buffer size selection by going to menu Setup > Hardware. Clicking the button will bring up the H224 buffer select dialog.

